arplumbingsingapore@gmail.com+6583168867
Handyman Logo
  • HOME
  • OUR SERVICES
    • ABOUT US
    • BLOG
    • CONTACT US
    WhatsApp Us
    WhatsApp
    Call Us
    background
    24/7 service
    Available 24 / 7

    Get A Free Quote

    Your call matters — anytime, anywhere, we'll handle it.

    Call Us
    Handyman Logo

    AR Handyman Service

    Fixing Today, Improving Tomorrow

    Your Trusted Handyman

    UEN: 202533630R

    Quick Links

    • HOME
    • SERVICES
    • ABOUT US
    • BLOG
    • CONTACT US
    • PRIVACY POLICY

    Services

    • Loading services…

    Contact Us

    +6583168867arplumbingsingapore@gmail.com

    Location

    11 SAM LEONG ROAD, #01-12, TRIO, SINGAPORE 207903

    © 2026 AR Handyman Service. All rights reserved

    Powered by Digital Resolution

    Waterproofing Guide: Solving Ceiling Leaks and Toilet Seepage in Singapore
    Back to Blog
    waterproofing-services

    Waterproofing Guide: Solving Ceiling Leaks and Toilet Seepage in Singapore

    AR Handyman Team3 min read
    #waterproofing#ceiling leak#toilet seepage#PU injection#roof repair
    Waterproofing Guide: Solving Ceiling Leaks and Toilet Seepage in Singapore

    Waterproofing Guide: Solving Ceiling Leaks and Toilet Seepage in Singapore

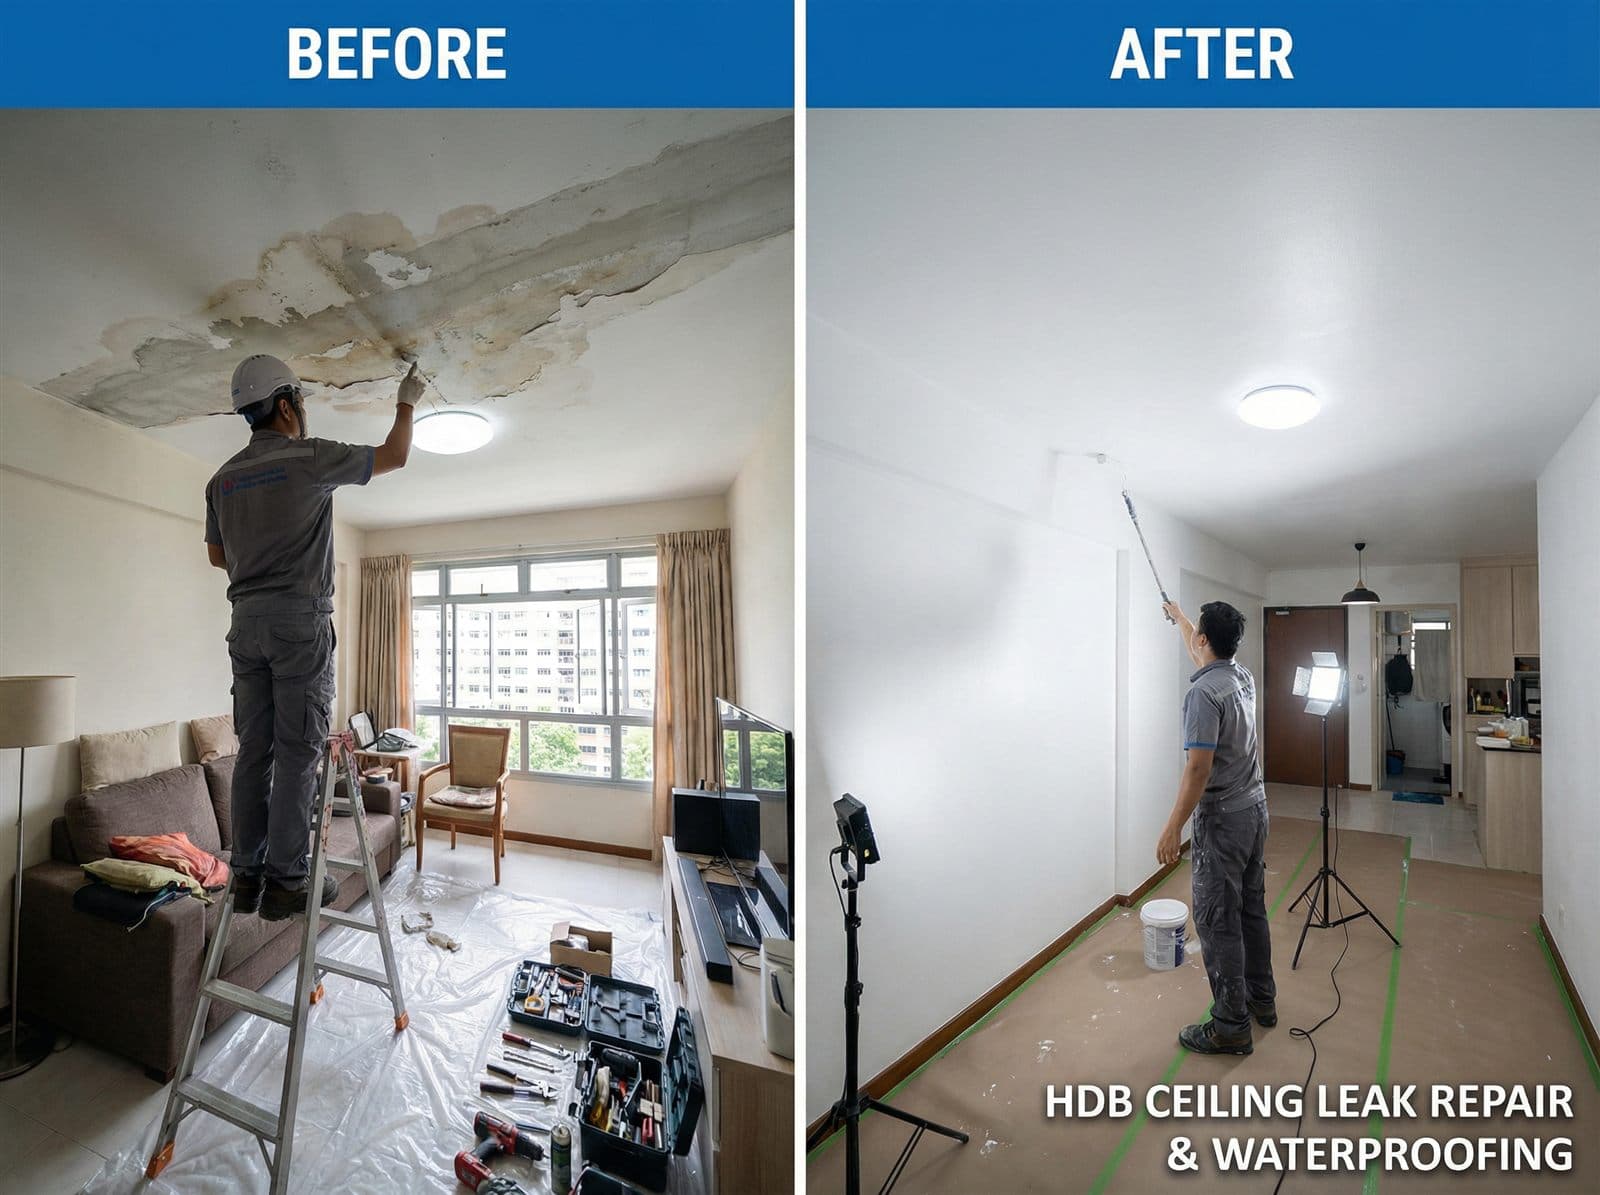
    Water stains on the ceiling, peeling paint, and a musty smell are clear indicators that your home’s waterproofing has failed. In a tropical climate like Singapore’s, heavy rain and high humidity make buildings vulnerable. This guide explains the common causes of ceiling leaks and toilet seepage and the best methods to fix them.

    Why Waterproofing Fails

    Waterproofing systems break down over time due to a mix of factors:

    • Natural building settlement causing hairline cracks
    • Poor initial workmanship during construction
    • Ageing materials—membranes typically last 8–15 years
    • Mechanical damage during renovations
    • Constant thermal expansion and contraction of concrete

    Common Types of Water Leaks in Singapore Homes

    • Ceiling leaks from the unit above: Often caused by a cracked pipe or failed waterproofing in the upper floor’s toilet.
    • Toilet floor seepage: Water travels horizontally into adjacent rooms, causing dampness and mould.
    • External wall infiltration: Rain penetrates through micro‑cracks in the façade, leading to efflorescence.
    • Roof leakage: Flat roofs on landed properties or RC ledges can pond water if drainage is poor.

    Professional Waterproofing Methods

    At AR Handyman Service, we deploy a range of solutions based on the leak source:

    ### PU Injection for Ceiling Leaks

    A non‑destructive method where polyurethane resin is injected into the concrete slab. It reacts with water, expands, and seals the crack from within. No hacking is required, making it perfect for HDB flats where hacking is restricted.

    ### Cementitious Membrane for Toilets

    For toilet floors, we hack the tiles, apply a flexible polymer‑cement waterproof coating, then re‑tile. A ponding test confirms there’s zero seepage.

    ### Torch‑on Membrane for Roofs

    Ideal for flat roofs, this bitumen‑based membrane is torch‑applied to form a seamless, UV‑resistant layer.

    • Liquid‑applied acrylic coatings for extra protection
    • Crystalline grout injection for negative‑side waterproofing
    • Polyurethane sealant for expansion joints

    Choosing a Waterproofing Contractor

    When comparing quotes, look for:

    • Experience: How many similar cases have they solved?
    • BCA registration: Ensure they are a registered waterproofing specialist.
    • Warranty: A minimum of 5 years on toilet waterproofing, up to 10 on roof works.
    • Methodology: They should explain exactly how they plan to stop the leak, not just “apply waterproofing”.

    The AR Handyman Waterproofing Process

    1. Inspection with moisture meter and thermal camera
    2. Diagnosis report and fixed quotation
    3. Surface preparation—hacking, cleaning, and priming
    4. Application of chosen waterproofing system
    5. Curing and testing (ponding test, if applicable)
    6. Reinstatement of tiles or paint, and final cleaning

    DIY Tips vs Professional Repair

    While you can apply a quick coat of waterproof paint on an internal wall, it only masks the problem. Water will find another path. Always address the source—which usually requires professional tools and expertise. Don’t wait until the next big storm; if you see a small stain, get it checked immediately.

    Keep your home dry and healthy. AR Handyman Service has resolved over 1,000 leakage cases island‑wide. Contact us for a non‑obligatory inspection today.

    All Posts